Your cart is currently empty!

How to Clean and Seal Wood Engravings: Tips for Removing Soot and Protecting Your Work
Posted by:
|
On:
|
Laser engraving wood can produce stunning results, but the process often leaves behind soot, especially inside the engraved areas. This residue can make the engraving look messy and cause issues when applying sealant. Luckily, there are several techniques to help clean and seal wood engravings for a professional finish. Here are the most effective methods to remove soot and seal your engravings.
1. Clean the Engraving Before Applying Any Sealant
Before applying any clear coat or sealant, it’s important to remove as much soot and residue as possible from inside the engraved areas. Here are a few methods that work well:
- Use a Soft Brush or Air Compressor: Start by brushing the engraved area with a soft brush to remove loose soot. Alternatively, use compressed air to blow away the residue. This step clears out most of the debris before deeper cleaning.
- Isopropyl Alcohol Wipe-Down: After brushing or blowing out the soot, use a cloth or cotton swab dipped in isopropyl alcohol to gently clean inside the engraving. The alcohol breaks down soot and leaves the engraved surface much cleaner, which helps sealants adhere better.
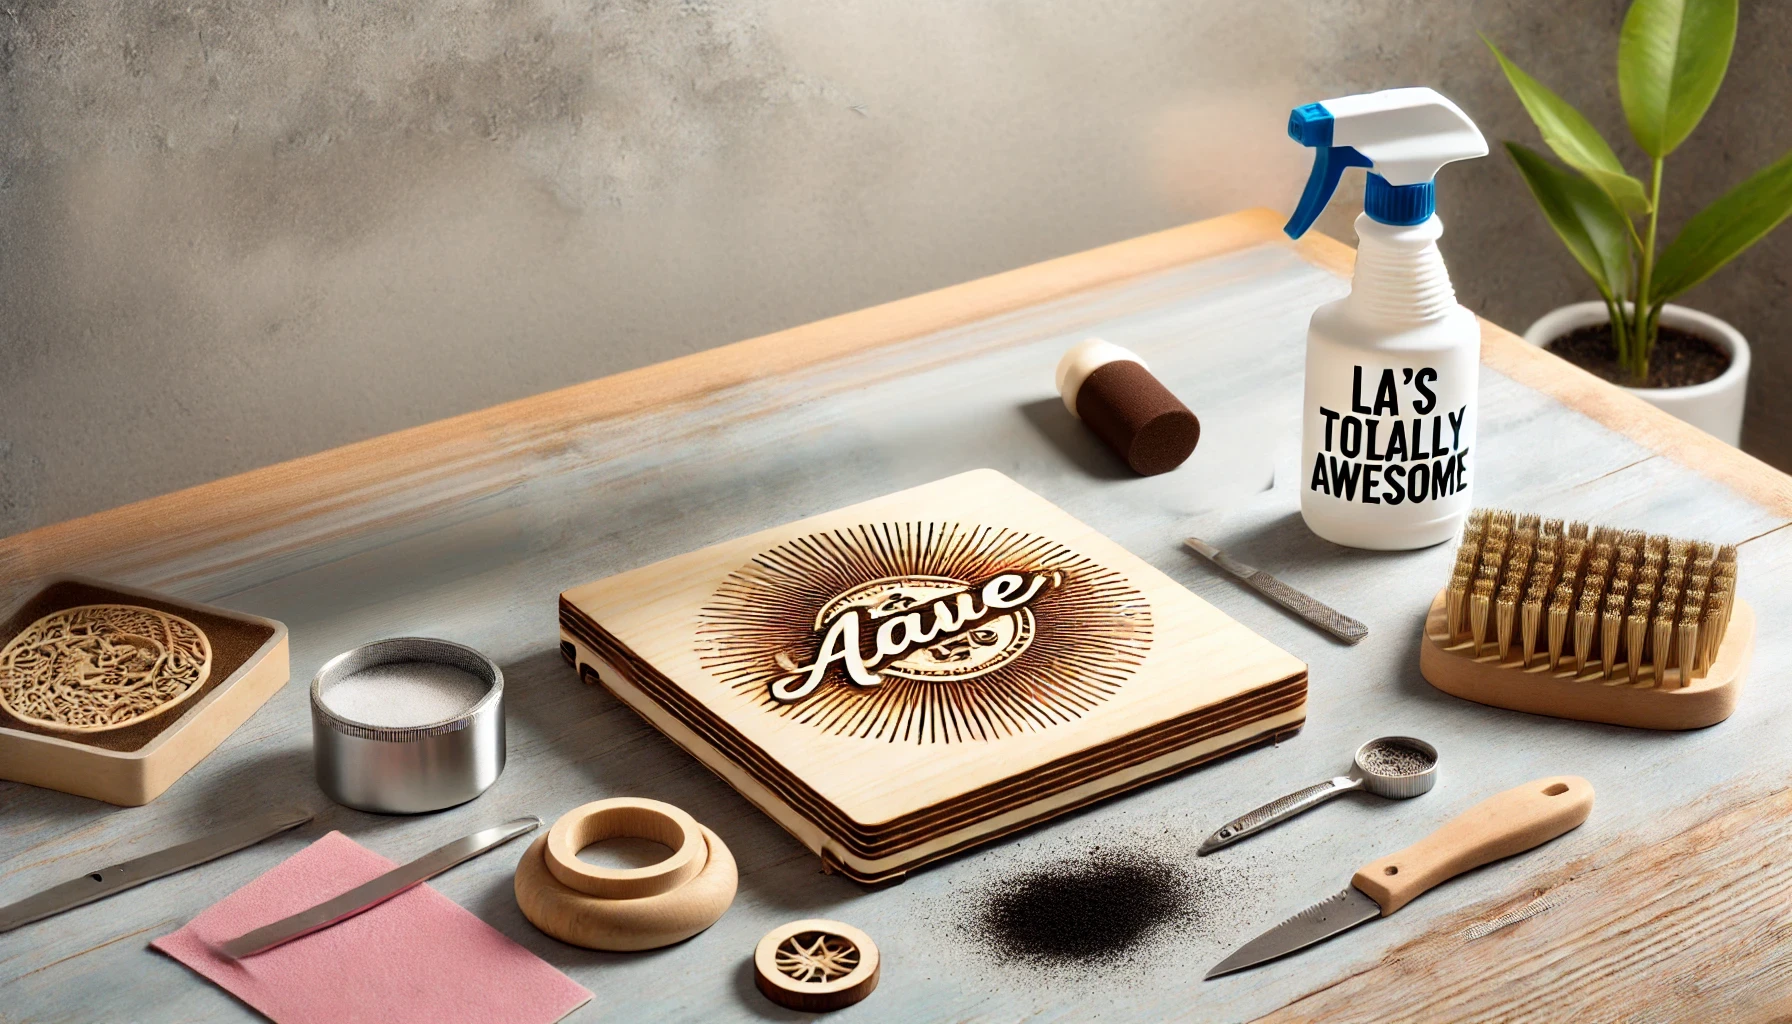
- LA’s Totally Awesome Cleaner: For stubborn soot buildup, LA’s Totally Awesome cleaner works wonders. Spray a small amount onto the engraved areas and scrub gently with a soft brush. This cleaner is effective at removing soot and residue without damaging the wood, making it a great option before sealing.
2. Adjust Power and Speed Settings
Minimizing soot starts with the engraving process itself. Excessive burning produces more soot, especially with softer woods.
- Lower the Power and Increase Speed: Reducing the laser’s power setting and increasing the engraving speed minimizes soot production. This results in lighter engravings but also less material being burned, which leads to cleaner results that are easier to seal.
3. Use Masking Tape During Engraving
One of the easiest ways to minimize soot buildup is to mask the wood before engraving.
- Pre-mask the Wood with Tape: Applying masking tape to the surface of the wood before engraving creates a barrier that protects the surrounding areas from soot. The tape captures most of the residue. After the engraving is complete, peel away the tape to reveal a cleaner surface with minimal soot inside the engraving.
4. Lightly Sand the Engraved Area
Sanding the engraved area after engraving helps remove residual soot that sticks to the surface and inside the engraved sections.
- Fine-Grit Sandpaper: Use fine-grit sandpaper (220 grit or higher) to lightly sand the engraved areas. This removes the top layer of soot and smooths out rough edges formed during the engraving process, preparing the wood for sealing.
5. Apply Multiple Thin Coats of Sealant
Once the engraved area is clean, the next step is sealing it properly. Instead of applying thick layers of sealant, use this method for better results:
- Use a Spray-On Clear Coat: Apply multiple thin coats of a spray-on clear coat, such as polyurethane or lacquer. Spray-on coats penetrate the wood better and seal the soot in place. Allow each coat to dry fully before applying the next to prevent flaking or uneven results.
6. Consider Using a Wood Sealer Before Engraving
Pre-sealing the wood can make the cleaning process easier by preventing soot from settling deep into the grain.
- Apply a Wood Sealer Before Engraving: Using a sanding sealer or wood sealer before engraving helps prevent excessive soot absorption. Once the engraving is finished, the soot will sit on the surface of the sealer, making it easier to clean off before applying the final sealant.
7. Test on Different Types of Wood
Different woods produce different results when engraved. Some woods are more prone to soot buildup, while others engrave more cleanly.
- Softwoods vs. Hardwoods: Softer woods like pine tend to burn more easily, producing more soot and residue, while hardwoods like maple or walnut engrave more cleanly with less soot buildup. Testing on various types of wood helps determine which one gives the cleanest result for your projects.
Interested in Other Materials?
If you’re also working with slate coasters, check out our article on Best Practices for Engraving Slate Coasters: Why You Should Skip the Coating. It covers everything you need to know about engraving and sealing slate for long-lasting, beautiful results.
FAQ Section
1. How do I clean soot from laser wood engravings?
- Use a soft brush or compressed air to remove loose soot, followed by an isopropyl alcohol wipe-down. For tougher soot, try LA’s Totally Awesome cleaner for effective results.
2. Can I seal wood engravings to prevent soot from flaking?
- Yes, applying multiple thin coats of spray-on sealant (such as polyurethane) is a great way to seal your engravings and lock in any remaining soot.
Conclusion
Achieving clean, soot-free engravings is possible with the right techniques. By cleaning the engraved areas thoroughly with a soft brush, isopropyl alcohol, or LA’s Totally Awesome, and adjusting your engraving settings, you’ll be able to achieve beautiful results. Pre-masking, sanding, and using thin coats of sealant will also ensure your engravings stay clean and protected.
Looking for new designs for your wood engravings? Check out Mountaineer Tradepost for the perfect laser cutting SVG files to inspire your next project.


Leave a Reply